Build a rich text editor with slatejs and react
Learn the basics of using slatejs - Setup, state management, key press handling and styling text ranges.
The outcome of this lesson can be seen here on codesandbox or here on github
Getting started
Let’s start with a basic react app like this:
import React from 'react'

function App() {
  return <div>
    This is where my editor will go
  </div>
}

export default App
Here are the packages we need:
slate- that’s slate’s core libraryslate-react- slate’s ui libraryimmutable- the peer dependency slate uses for it’s document modelslate-plain-serializer- this library let’s us turn a string into the document model
npm install --save slate slate-react immutable slate-plain-serializer
Import the Editor component
import { Editor } from 'slate-react'
And render the Editor in our App component.
function App() {
  return <div>
    <Editor />
  </div>
}
That’ll give you an error because slate needs at least the value prop to render.
Value is slate’s editor model. Amoong a few other things it contains all content of a document.
This is where it usually gets a little hairy. Slate’s model is quite versatile and as such, even rendering a line of text is verbose. It really deserves it’s own blog-post or video. Here’s what a basic valid Value looks like:
const initialValue = Value.fromJSON({
  document: {
    nodes: [
      {
        object: 'block',
        type: 'paragraph',
        nodes: [
          {
            object: 'text',
            leaves: [
              {
                text: 'Hello World',
              },
            ],
          },
        ],
      },
    ],
  },
})
To avoid the above boilerplate you can use slate-plain-serializer instead
import Plain from 'slate-plain-serializer'
const initialValue = Plain.deserialize('Hello World')
The deserialize method transforms plain text into a valid Value.
Now let’s add this value to our Editor:
<Editor value={initialValue} />
}
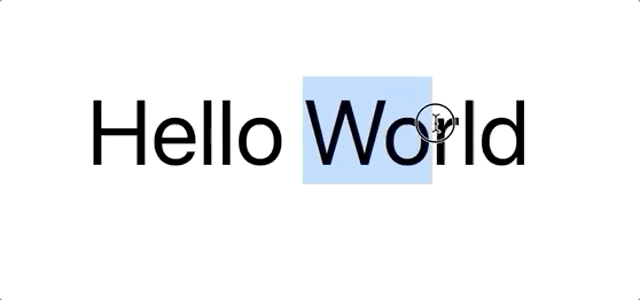
Once your react app has rerendered, you will see the words Hello World on screen.
However, try editing the text and you’ll notice that updates aren’t working yet. This is intentional, since Editor is a controlled React component. In short - if you want to update the value, you need to define the onChange prop.
onChange={({ value, operations }) => { ... }}
The onChange prop is a callback function that gets called whenever the Editor has updated its value (for example when you type). The callback is passed an object with two properties: value and operations. operations contains all replayable changes that have led up to the current value, useful if you want to synchronise another editor for example. The value property contains the updated Value object. We’ll use that new Value to update our current state.
But wait, we don’t have any component state yet. Let’s use the useState hook for this since hooks are pretty awesome.
Here’s how the code of our App will look like:
import React, { useState } from 'react'
import { Editor } from 'slate-react'
import Plain from 'slate-plain-serializer'

const initialValue = Plain.deserialize('Hello World')

function App() {
  const [value, setValue] = useState(initialValue)
  return <div className="App">
    <Editor
      value={value}
      onChange={(change) => setValue(change.value)}
    />
  </div>
}

export default App
First - import the useState hook, import React, { useState } from 'react'
Next, we’ll invoke the useState hook inside our App with our initialValue. This will give us our state variable as well as our update method.
const [value, setValue] = useState(initialValue)
Now use the value and setValue method with the editors props like below.
<Editor
  value={value}
  onChange={(change) => setValue(change.value)}
/>
And voila, your editor is updating when you interact with it!
Now that we have the first steps out of the way let’s do something beyond just plain text editing and add some text formatting. Let’s say we we want to highlight text in our editor. To style text, your best bet is to use a Mark.
There are several ways to do this, but the easiest is via the onKeyDown callback
Define the onKeyDown callback prop for our editor like so:
<Editor
  ...
  onKeyDown={(event, editor, next) => {
    if (event.key === 'h' && event.metaKey === true) {
      event.preventDefault()
      editor.toggleMark('hightlight')
    } else {
      return next()
    }
  }}
>
Let’s go through this:
onKeyDown gets passed three arguments: event, editor and next.
eventis the original keyboard event that is being produced when a user fires a key. We can for example use this to figure out which keys have been pressed.editoris an object containing all availablecommands. This is one of the core features of slate that makes it really easy to perform updates.next()will call the nextonKeyDowncallback handler if there is one.
Now within our onKeyDown event handler we’re only going to react to when the user pressed the cmd & the h key, the selected text will be highlighted by using a mark.
Mark’s are slates way to attach formatting data to a range of text.
Now if the meta key and the h key are pressed, we first use event.preventDefault() to prevent the browsers default behaviour and then we use toggleMark('highlight') to add a the mark 'highlight' to the selected range of text - and if it already has said mark - we remove it.
If the above key combination isn’t pressed - we move on to the next handler by returning next()
That’s our onKeyDown handler done
Now we have a keyboard shortcut for toggling a highlight mark in our text. Now we need to teach slate how to render it (atm it’ll render the same as other un-marked text)
renderMark={(props, editor, next) => {
  if (props.mark.type === 'highlight') {
    return <span
      style={{ background: 'red', color: 'white' }}
      {...props.attributes}
    >
      {props.children}
    </span>
  } else {
    return next()
  }
}}
For this we’re using the fittingly named renderMark prop. This render prop has 3 arguments, props, editor and next.
props- The name here is a bit misleading I guess - think not component props but properties of node you are rendering, it contains.props.attributesis supposed to be spread onto your containing react element btw.props.childrenis mostly the text that needs rendering.editor- the editor object again.next- same as next above, steps through to the next renderMark.
Now once you’ve done that the editor should render correctly, voila: