React and RXjs Part 1 - Introduction
This series is about using react in combination with rxjs, for fun event-based programming. This first part is an introduction, we'll learn how to handle basic events with rxjs and react js.
So this series is going to be very stream-of-thought. I’m going to build something with rxjs (only briefly played with it before) and tell my story with words.
Observables
Most of rxjs’s data structures are based on observables. To get used to the idea, it’s helpful to look through the tc39 proposal for observables. The Observable class is meant to be subclassed and although rxjs provides its own implementation of observables, it works along the same lines as the tc39 proposal. Other good points of reference are this video about rxjs, redux and react in combination, this blogpost and Andrew Clark’s examples showing off recompose’s higher order components for rxjs/react bindings.
Getting started
Long story short, I’ve decided to use Subjects, which are like streams after looking at some example from this article.
Right. So what do we do first. Let’s hook up a subject to an event listener. I used create-react-app to build a basic react application scaffold, and I’m working with the App component src/App.js.
Hello world with subjects
So here we begin with Subjects, you can listen with the subscribe method and tell them things via the next method. This is how this looks like:
/* Here's my Subject */
const stream = new Subject();

/* .subscribe listens to above stream */
stream.subscribe((planet) => console.log(`hello ${planet}`));

/* .next pushes the value into the stream and thus prints "hello world" */
stream.next('world'); //
Connecting a subject to a react component
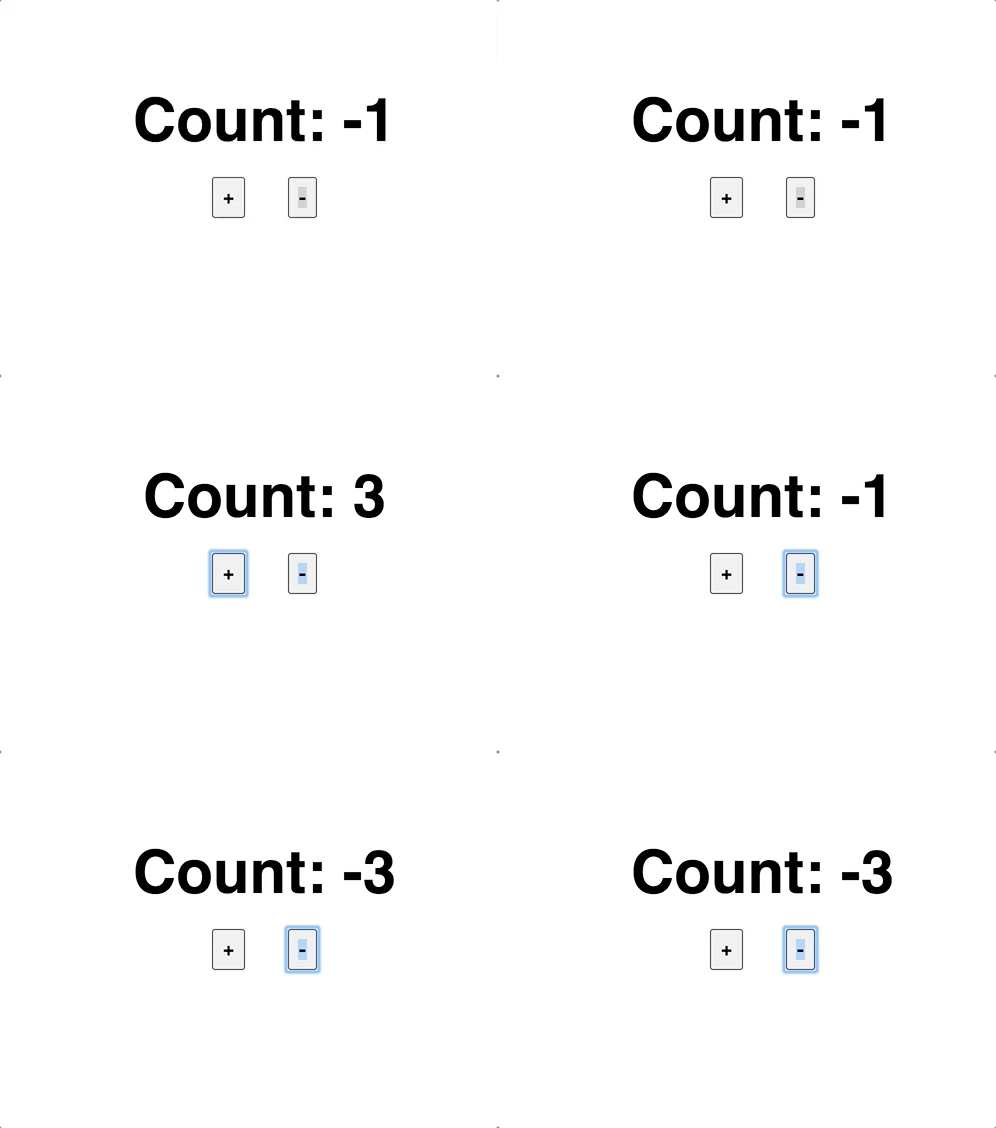
For starters, we’ll use component state just to wrap your head round it:
First we create a subject (event stream).
// we create the Subject
const counter = new Subject();
Then we create a component class…
class App extends Component{
  // We define some intial state for the component
  state = {
    number: 0
  };

  componentDidMount() {
    // We update the state in our subscribe callback from the counter stream
    counter.subscribe((val) => this.setState({ number: this.state.number + val  }));
  }

  render() {
    // We render the number and the buttons for adding +1 or -1.
    return (
      <div className="App-intro">
        <div>{this.state.number} -</div>
        <button onClick={() => counter.next(1)}>Plus</button>
        <button onClick={() => counter.next(-1)}>Minus</button>
      </div>
    );
  }
}

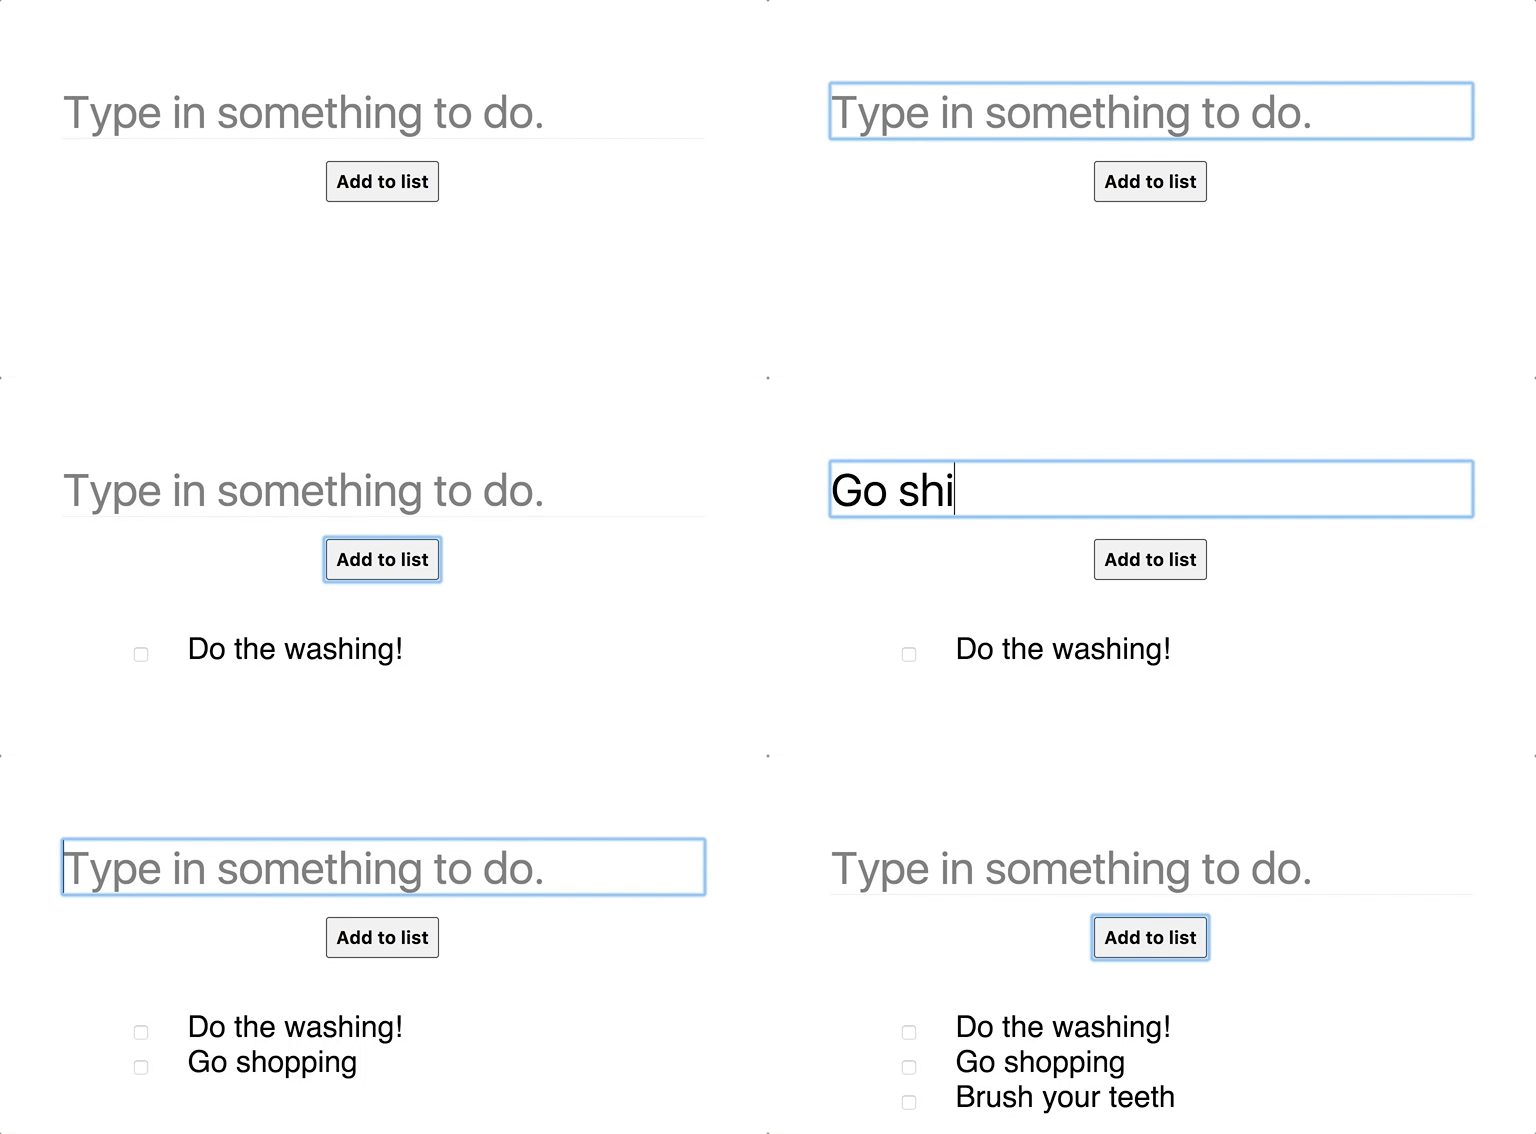
The above is a pretty simple example. Let’s do something more complex, let’s create a todo simple todo list:
A simple todo list Subjects
Again, At first we create all our subjects which represents the events we want to track:
const createTodo = new Subject();
const currentInput = new Subject();
const updateTodo = new Subject();
const deleteTodo = new Subject();
Then we create a Component class which holds our state:
class App extends Component{
  // We define some intial state for the component
  state = {
    todos: [],
    input: '',
  };
Then we subscribe to our event streams in componentDidMount(){}
  componentDidMount() {
    // We update the state when a todo is created
    createTodo.subscribe(() => {
      this.setState({
        input: '',
        todos: this.state.todos.concat({
          text: this.state.input,
          done: false
        })
      });
    });

    // We update the state when the input changes
    currentInput.subscribe(input => this.setState({ input }));

    // We update the state when a todo gets deleted
    deleteTodo.subscribe((index) => {
      console.log(index, this.state.todos);
      this.setState({ todos: this.state.todos.filter((_, _index) => index !== _index)});
    });

    // We update the a todo when it gets updated
    updateTodo.subscribe(({ index, ...obj }) => {
      this.state.todos[index] = Object.assign({}, this.state.todos[index], obj);
      this.setState({ todos: this.state.todos });
    });
  }
And then we render the interface and bind our event callbacks to streams:
  render() {
    // We render the interface, bind callbacks from the input field and the "add to list" button to our Subjects and display the todos in a list below
    return (
      <div className="App-intro">
        <input
          type="text"
          autoFocus
          placeholder="Type in something to do."
          value={this.state.input}
          onChange={(e) => currentInput.next(e.target.value)}
        />
        <button onClick={() => createTodo.next()}>Add to list</button>
        <ul>
          {this.state.todos.map(({text, done}, index) => {
            return (
              <li key={index}>
                <input onChange={() => updateTodo.next({ index, done: !done })} checked={done} type="checkbox" value="" />
                { done === true ? (<strike>{text}</strike>) : text}
                <button onClick={() => deleteTodo.next(index)}>Delete</button>
              </li>
            )})}
        </ul>
      </div>
    );
  }
}
Voila, it’s working, we’re able to create Todos, update them as done and delete them.

So what’s next
This is an introductory post and as such I made the example as simple as possible, which to be fair doesn’t really show the power of rxjs. Rxjs really shines with more complex things, when you’re actually building an app, or deal with complex user events.
In the next blog post I’ll show you how powerful rxjs in combination react can really be and what it excells at. I’ll also work with recompose which expposes very useful higher order components for binding rxjs event streams to react views.